Introduction: A roof replacement is a significant investment in your home, and when the time comes for this essential upgrade, it’s necessary to understand the process to ensure a successful project. At Dover Roofers, we believe in transparency and providing our customers with the best roofing solutions. In this blog post, we will walk you through the step-by-step guide to the roof replacement process to help you make an informed decision for your home.
Step 1: Initial Inspection and Assessment
The first step in the roof replacement process is to schedule an initial inspection with a reputable roofing contractor. A professional roofer will assess the current condition of your roof, identify any issues, and determine whether a replacement is necessary. They will also provide you with an estimate and discuss your options for roofing materials.
Step 2: Choosing the Right Roofing Materials
Once you’ve decided to proceed with the roof replacement, it’s time to choose suitable roofing materials for your home. Various options, such as asphalt shingles, metal roofing, tile, and more, are available. Consider factors like durability, cost, and aesthetics to select the best material that suits your needs and preferences.
Step 3: Preparing the Site
Before the actual roof replacement begins, the roofing crew will prepare the site to ensure a smooth and safe process. This may involve moving outdoor furniture, protecting landscaping, and setting up safety equipment.
Step 4: Removing the Old Roof
The next step is to remove the existing roof. The roofing crew will carefully strip off the old shingles or roofing material, inspecting the deck for any signs of damage or decay. If there are any issues, they will be addressed before proceeding further.
Step 5: Repairing and Preparing the Roof Deck
If there are any damaged areas on the roof deck, they will be repaired or replaced. The deck must be in good condition to provide a solid foundation for the new roofing material.
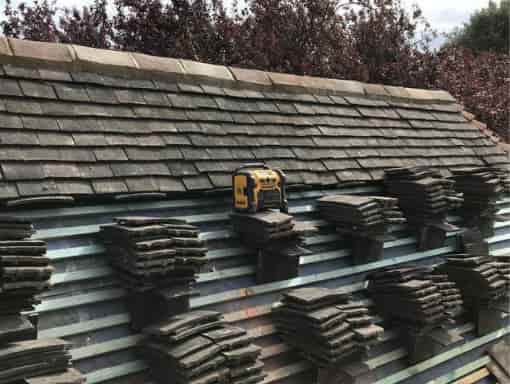
Step 6: Installing the New Roofing Material
With the roof deck prepared, the roofing crew will begin installing the new roofing material. They will follow industry best practices and manufacturer guidelines to ensure a proper and secure installation.
Step 7: Flashing and Ventilation
Proper flashing and ventilation are crucial for the longevity and performance of your new roof. The roofing crew will install flashing around roof penetrations and along the roof edges to prevent water infiltration. They will also ensure that your roof has adequate ventilation to maintain a comfortable indoor environment and avoid moisture buildup.
Step 8: Final Inspection and Clean-Up
Once the roof replacement is complete, a final inspection will ensure everything is in order and meets quality standards. The roofing crew will also thoroughly clean the work area, removing debris and materials.
Step 9: Customer Satisfaction
At Dover Roofers, customer satisfaction is our top priority. We will walk you through the newly installed roof, explain the warranty coverage, and address any questions or concerns.
Conclusion: A successful roof replacement requires careful planning, professional expertise, and attention to detail. By following this step-by-step guide, we aim to provide you with a seamless and stress-free experience during your roof replacement project. If you’re considering a roof replacement or need roofing, don’t hesitate to contact Dover Roofers. Our experienced professionals are ready to assist you with all your roofing requirements.
Call us on 01304796899 or click here to complete our contact form and see how we can help with your roofing needs.